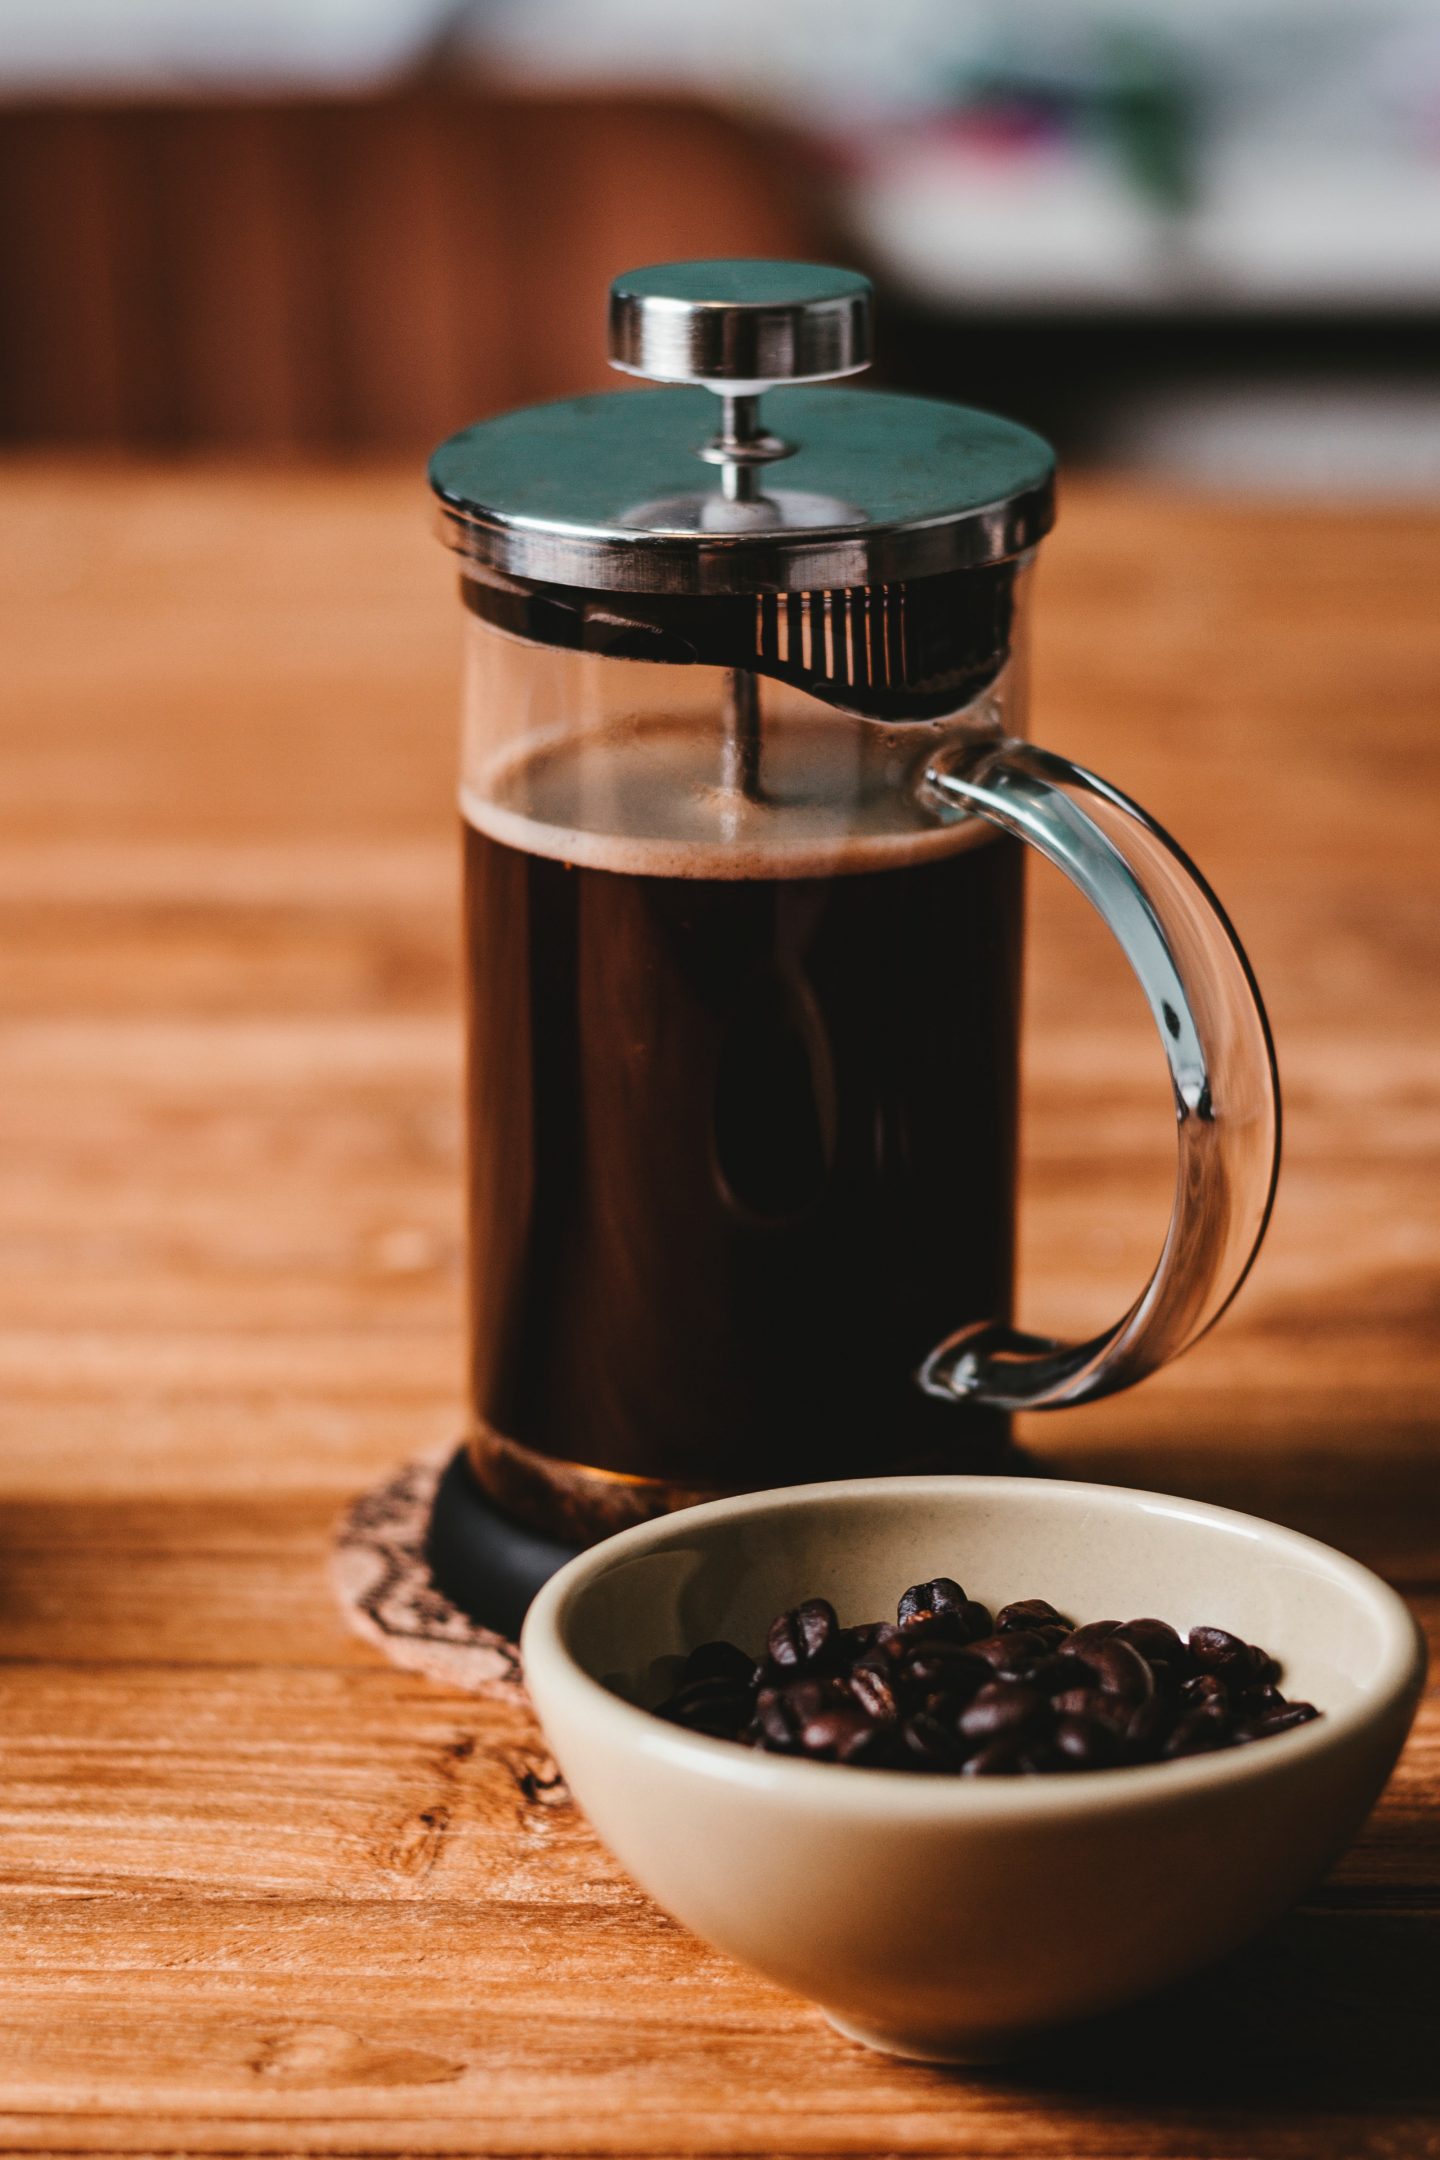
French press coffee is rich because it uses full immersion and a metal filter. The coffee grounds sit directly in hot water, and the filter lets natural oils and fine texture stay in the cup. That is why French press coffee often tastes heavier and fuller than drip coffee.
The method is simple, but details matter. Use a coarse grind, a measured ratio, and a clean press. Most problems come from grinding too fine, steeping too long, or letting the brewed coffee sit on the grounds after pressing.

French Press Recipe
| Variable | Starting Point |
|---|---|
| Coffee | 30 grams |
| Water | 450 grams |
| Ratio | 1:15 |
| Grind | Coarse |
| Water temperature | 195 F to 205 F |
| Steep time | 4 minutes |
If you do not use a scale, start with about 3 tablespoons of whole bean coffee per 12 ounces of water. A scale is more consistent, but you can still make a good cup without one.
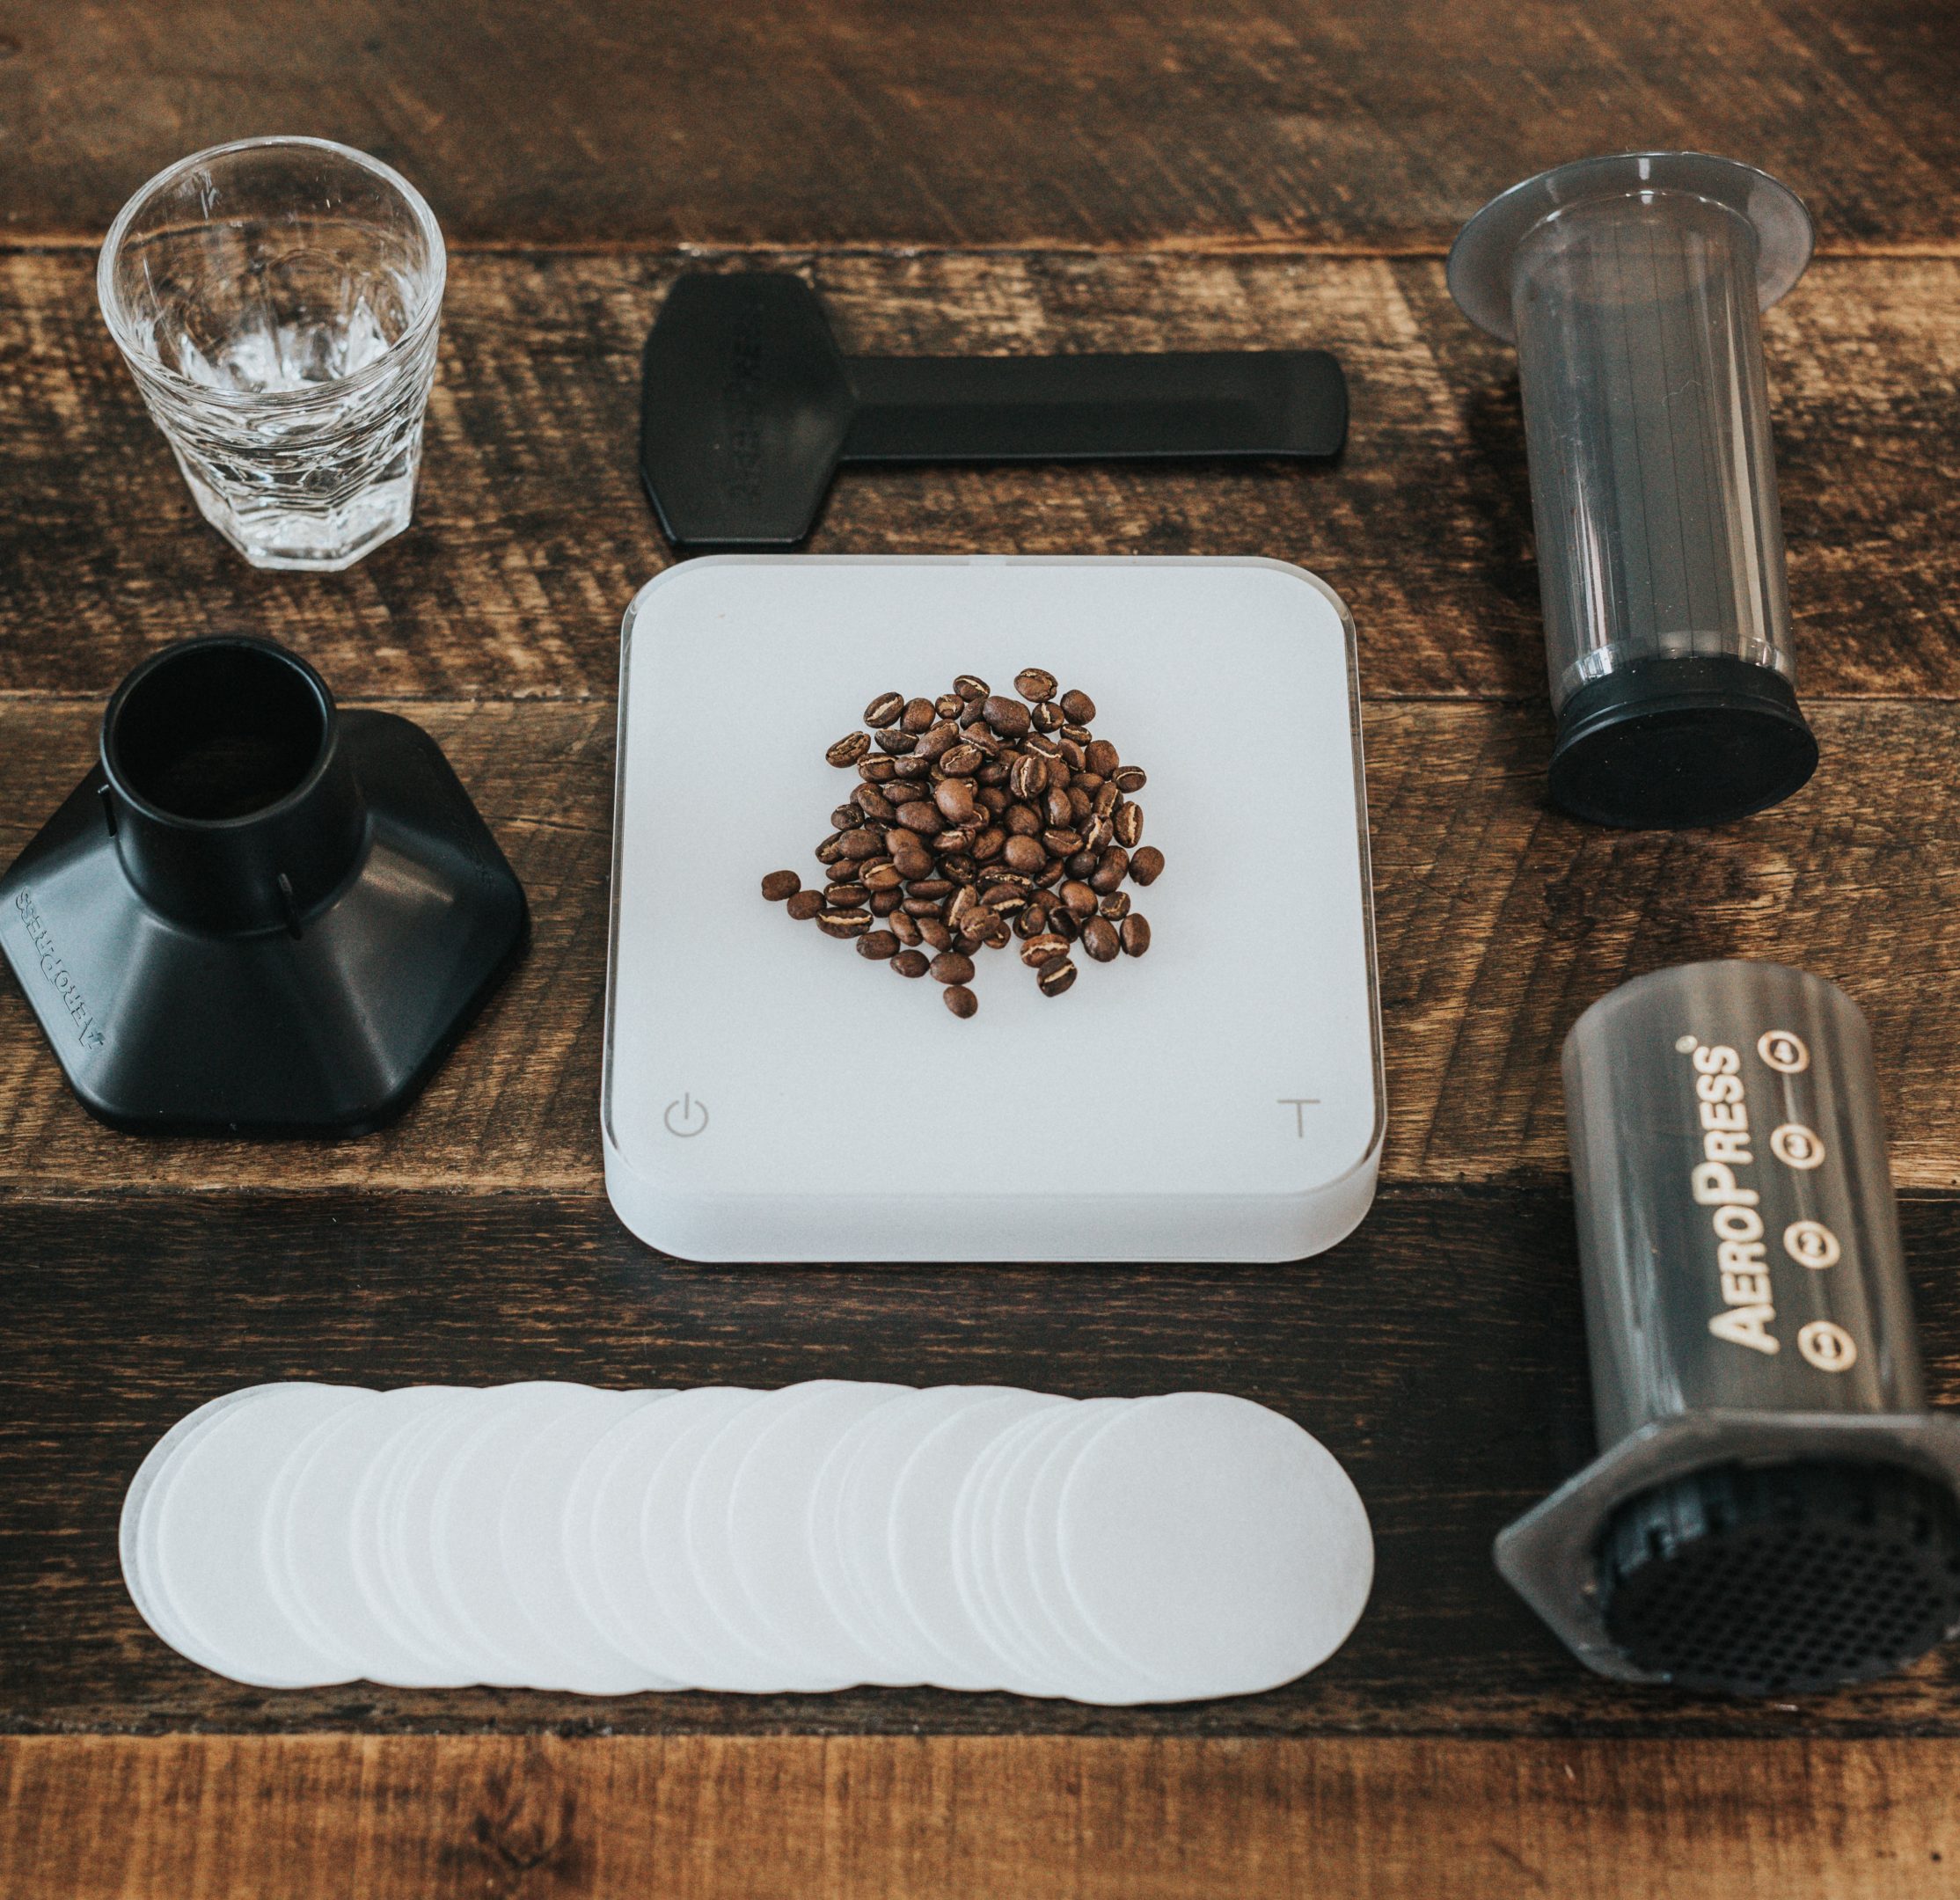
What You Need
- French press
- Fresh roasted coffee
- Burr grinder
- Kettle
- Scale or measuring spoon
- Timer
- Stirring spoon
- Mug or serving carafe
Dark and medium-dark coffees work especially well in a French press because the metal filter emphasizes body. Try Bob and Weave Dark Blend or Dark and Dangerous if you want a heavier cup.
Step 1: Heat the Water
Heat water to 195 F to 205 F. If you do not have a temperature-controlled kettle, bring water to a boil and let it sit for about 30 seconds before pouring.
Water that is too cool can taste sour or thin. Water that is too hot can pull harsh flavors from the coffee.
Step 2: Grind the Coffee Coarse
French press needs a coarse grind. The grounds should look closer to coarse sea salt than table salt. A grind that is too fine can slip through the filter, create sediment, and make the plunger hard to press.
Step 3: Preheat the Press
Pour a little hot water into the empty French press, swirl it, and discard it. This warms the glass or steel so the brew temperature stays more stable.
Step 4: Add Coffee and Water
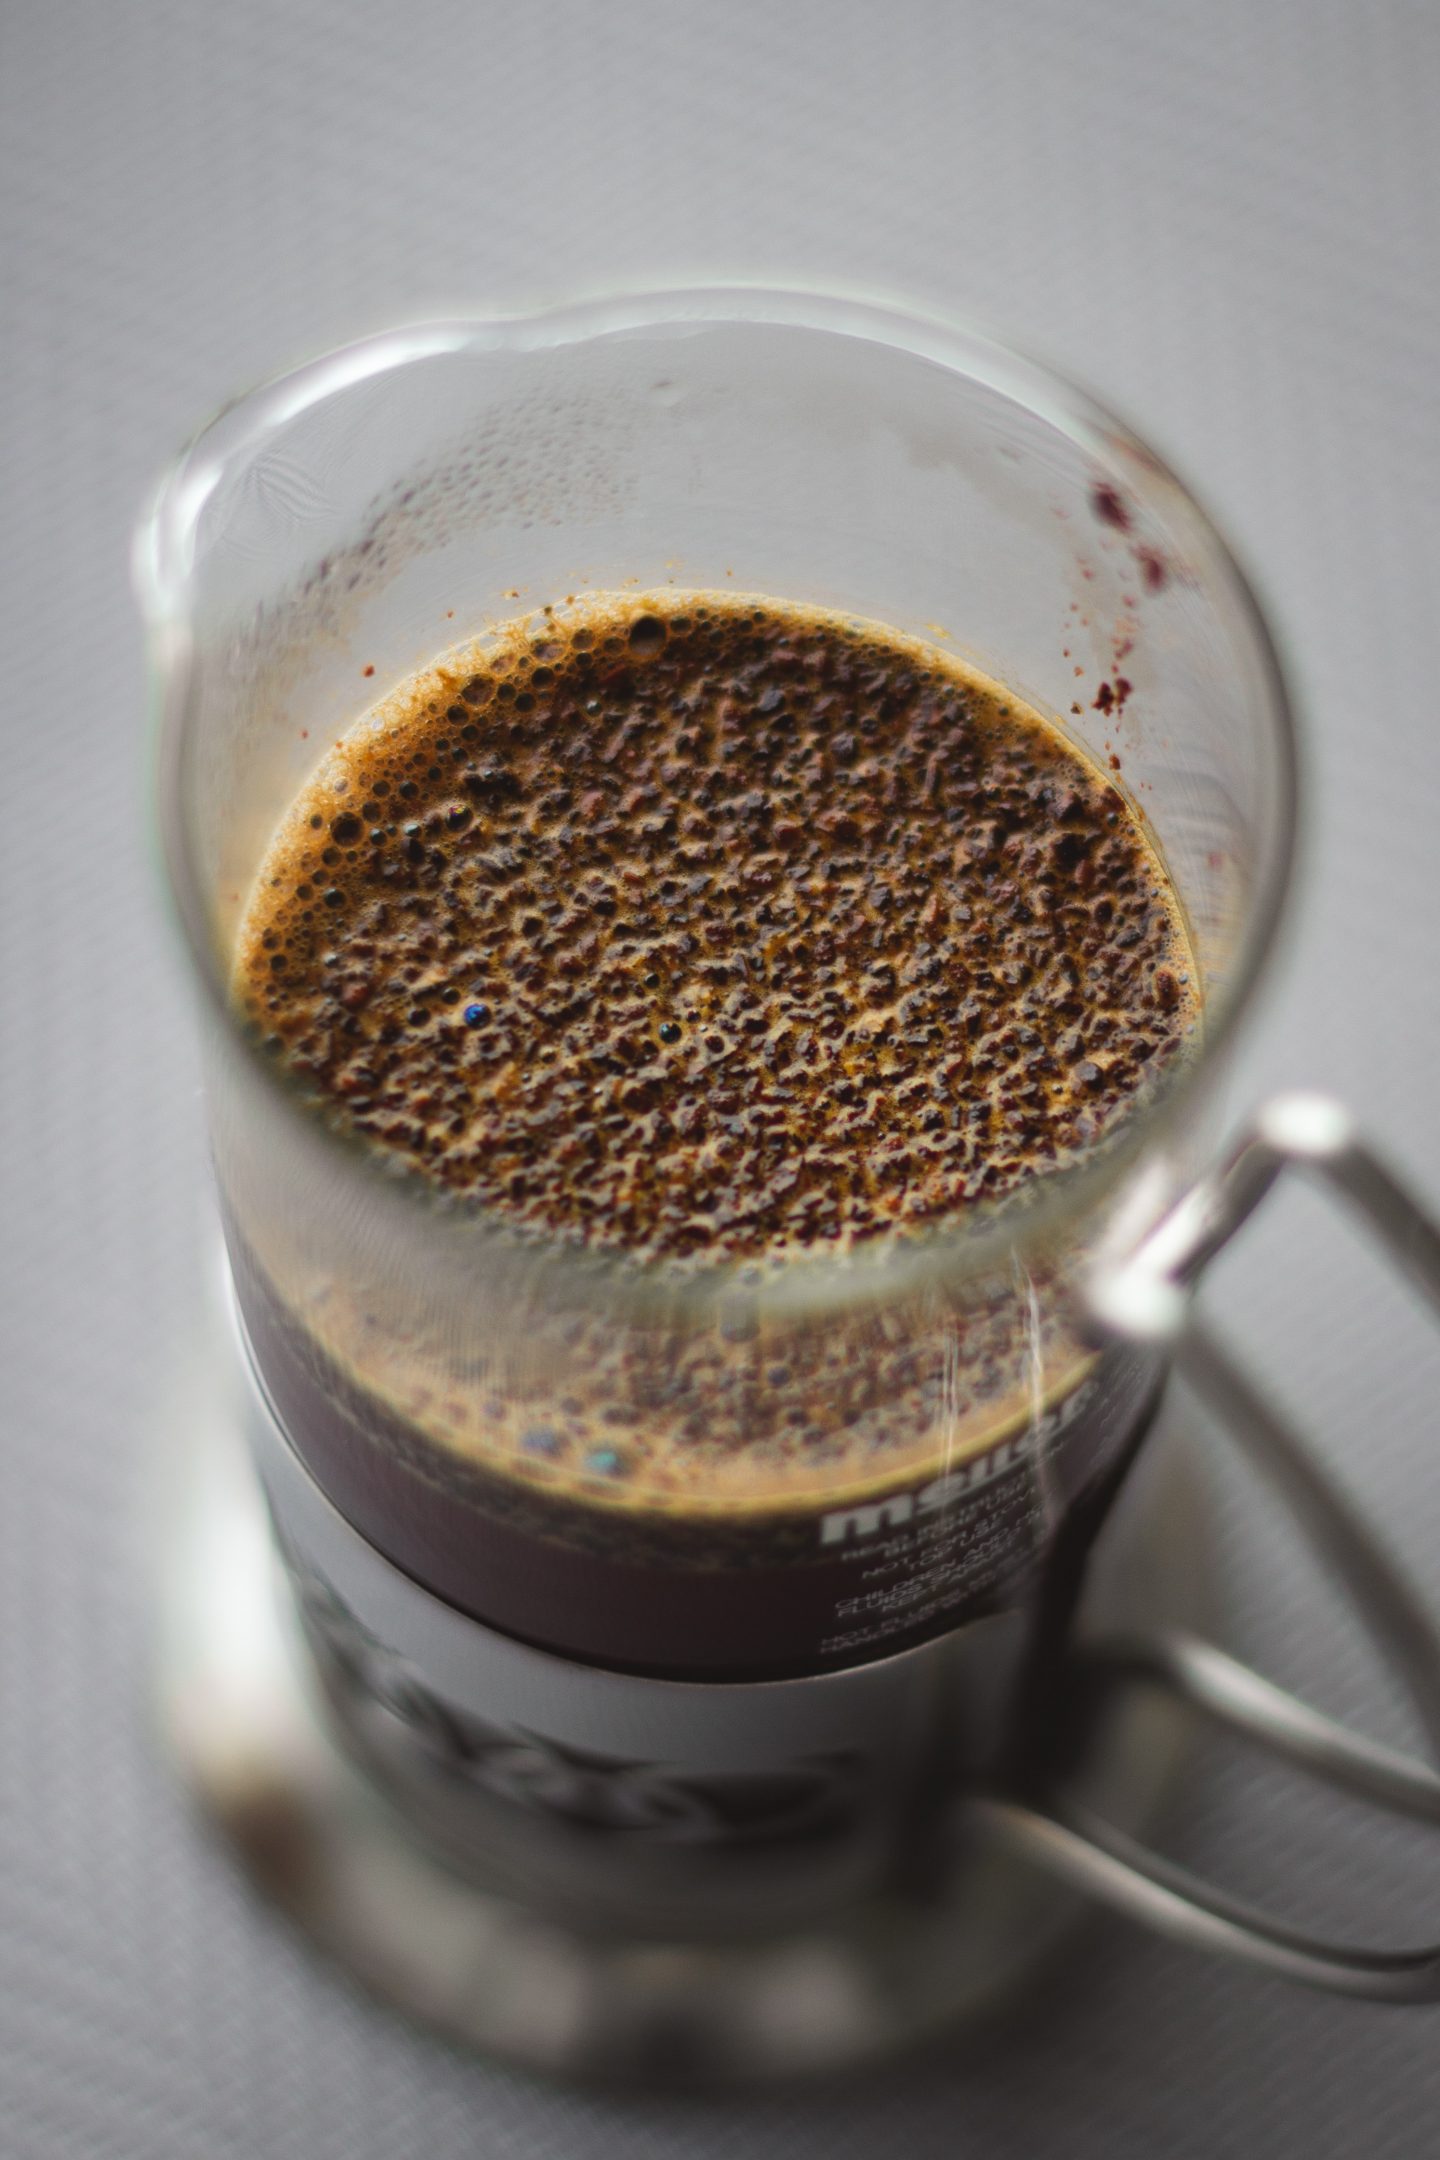
Add the ground coffee first. Pour hot water evenly over the grounds. Make sure all the coffee is wet, then gently stir once or twice.
Step 5: Steep for Four Minutes
Place the lid on top with the plunger raised. Start a 4 minute timer. This is long enough to build body and sweetness without pushing too far into bitterness.
If your coffee tastes weak, grind slightly finer next time. If it tastes bitter or gritty, grind coarser or shorten the steep by 30 seconds.
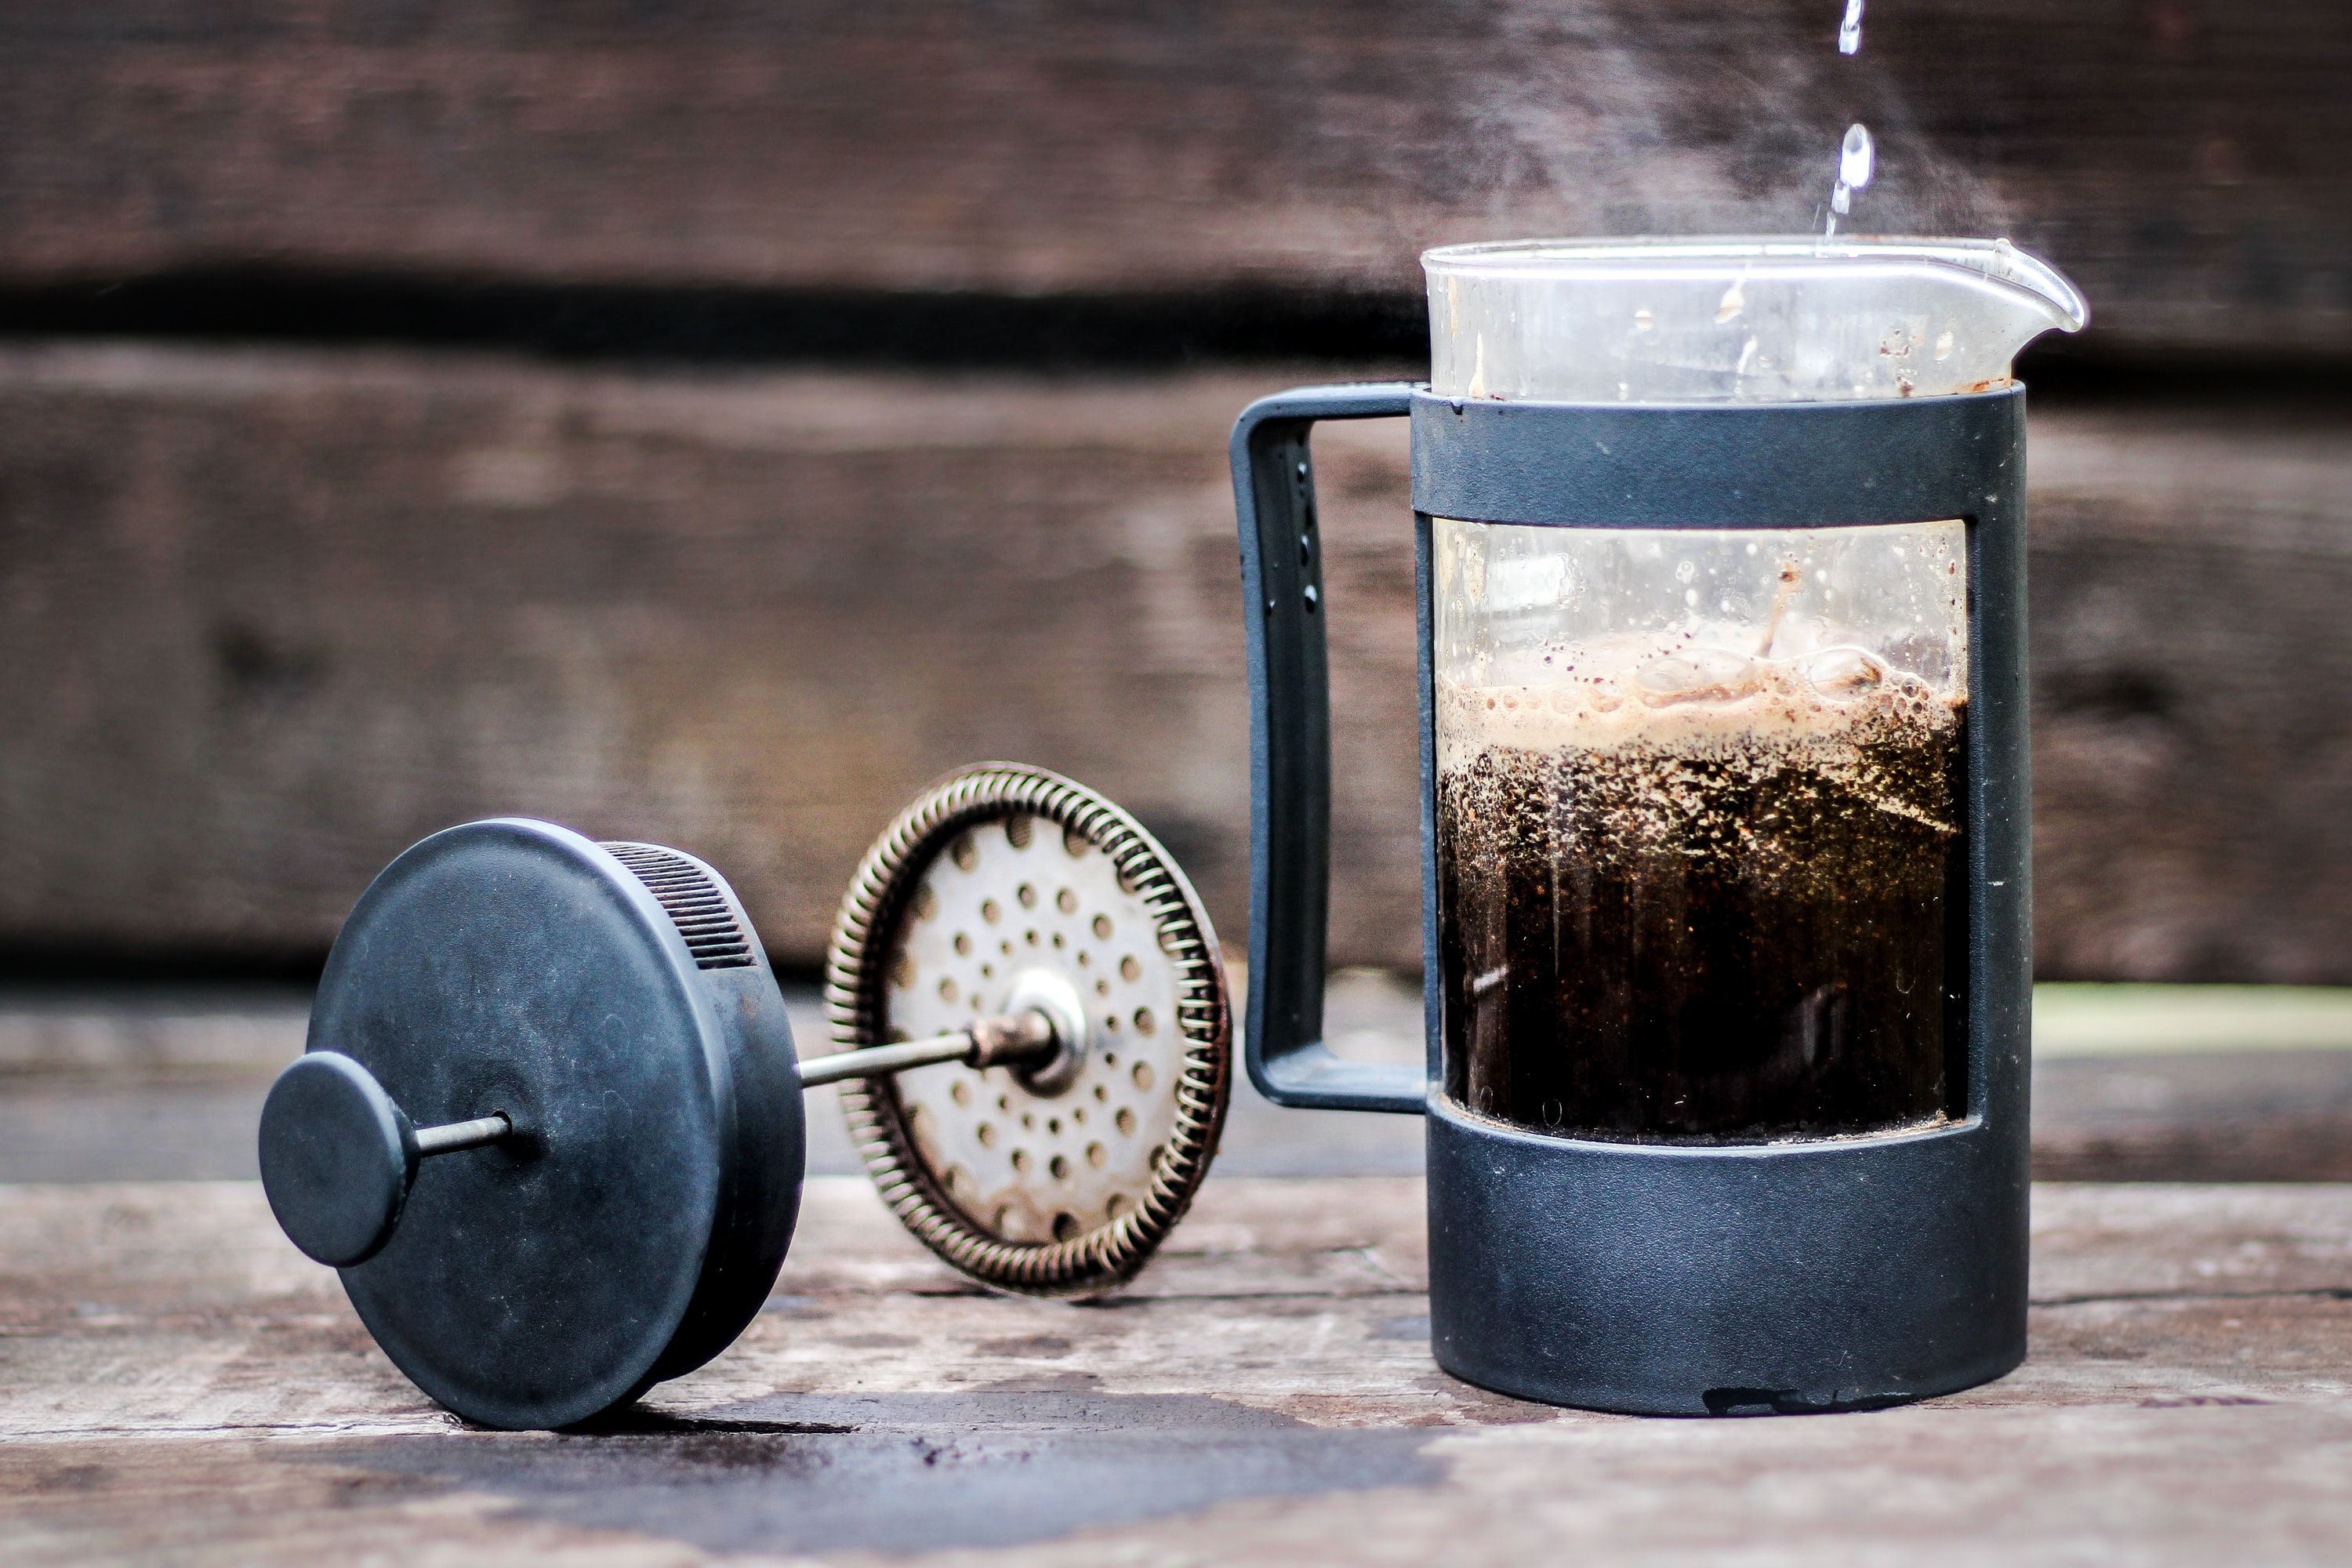
Step 6: Press Slowly
Press the plunger down with steady, gentle pressure. Do not slam it down. If the plunger fights back hard, your grind is probably too fine.

Step 7: Decant Immediately
Once you press, pour the coffee into mugs or a separate carafe. If brewed coffee stays in the press with the grounds, it keeps extracting and can turn bitter.
Why French Press Coffee Tastes Different
Paper filters trap many coffee oils. A French press metal filter lets those oils through, creating a heavier mouthfeel and more body. That is the advantage of the method, but it also means grind size and cleanliness matter.
Wash the filter screen after each use. Old coffee oils stuck in the mesh can make the next brew taste stale.
French Press Troubleshooting
| Problem | Likely Cause | Fix |
|---|---|---|
| Bitter coffee | Fine grind, long steep, or coffee left in press | Grind coarser, steep 4 minutes, decant |
| Sour coffee | Water too cool or grind too coarse | Use hotter water or grind slightly finer |
| Muddy cup | Too many fines | Use a burr grinder and coarse setting |
| Weak flavor | Too little coffee | Use a 1:15 ratio or add more coffee |
French Press FAQ
Can I use pre-ground coffee in a French press?
You can, but many pre-ground coffees are too fine for French press. Whole bean coffee ground right before brewing gives you better flavor and less sediment.
Should I stir French press coffee?
Yes, but gently. Stir once after pouring water to make sure the grounds are saturated. Aggressive stirring can create more fines and sediment.
Is French press good for dark roast?
Yes. French press works well with dark roast because it emphasizes body, oils, and chocolatey flavors. Freshness still matters, so use recently roasted coffee when possible.
Final Takeaway
French press is one of the best low-tech ways to make rich coffee at home. Use fresh beans, a coarse grind, a 1:15 ratio, a 4 minute steep, and decant right after pressing.