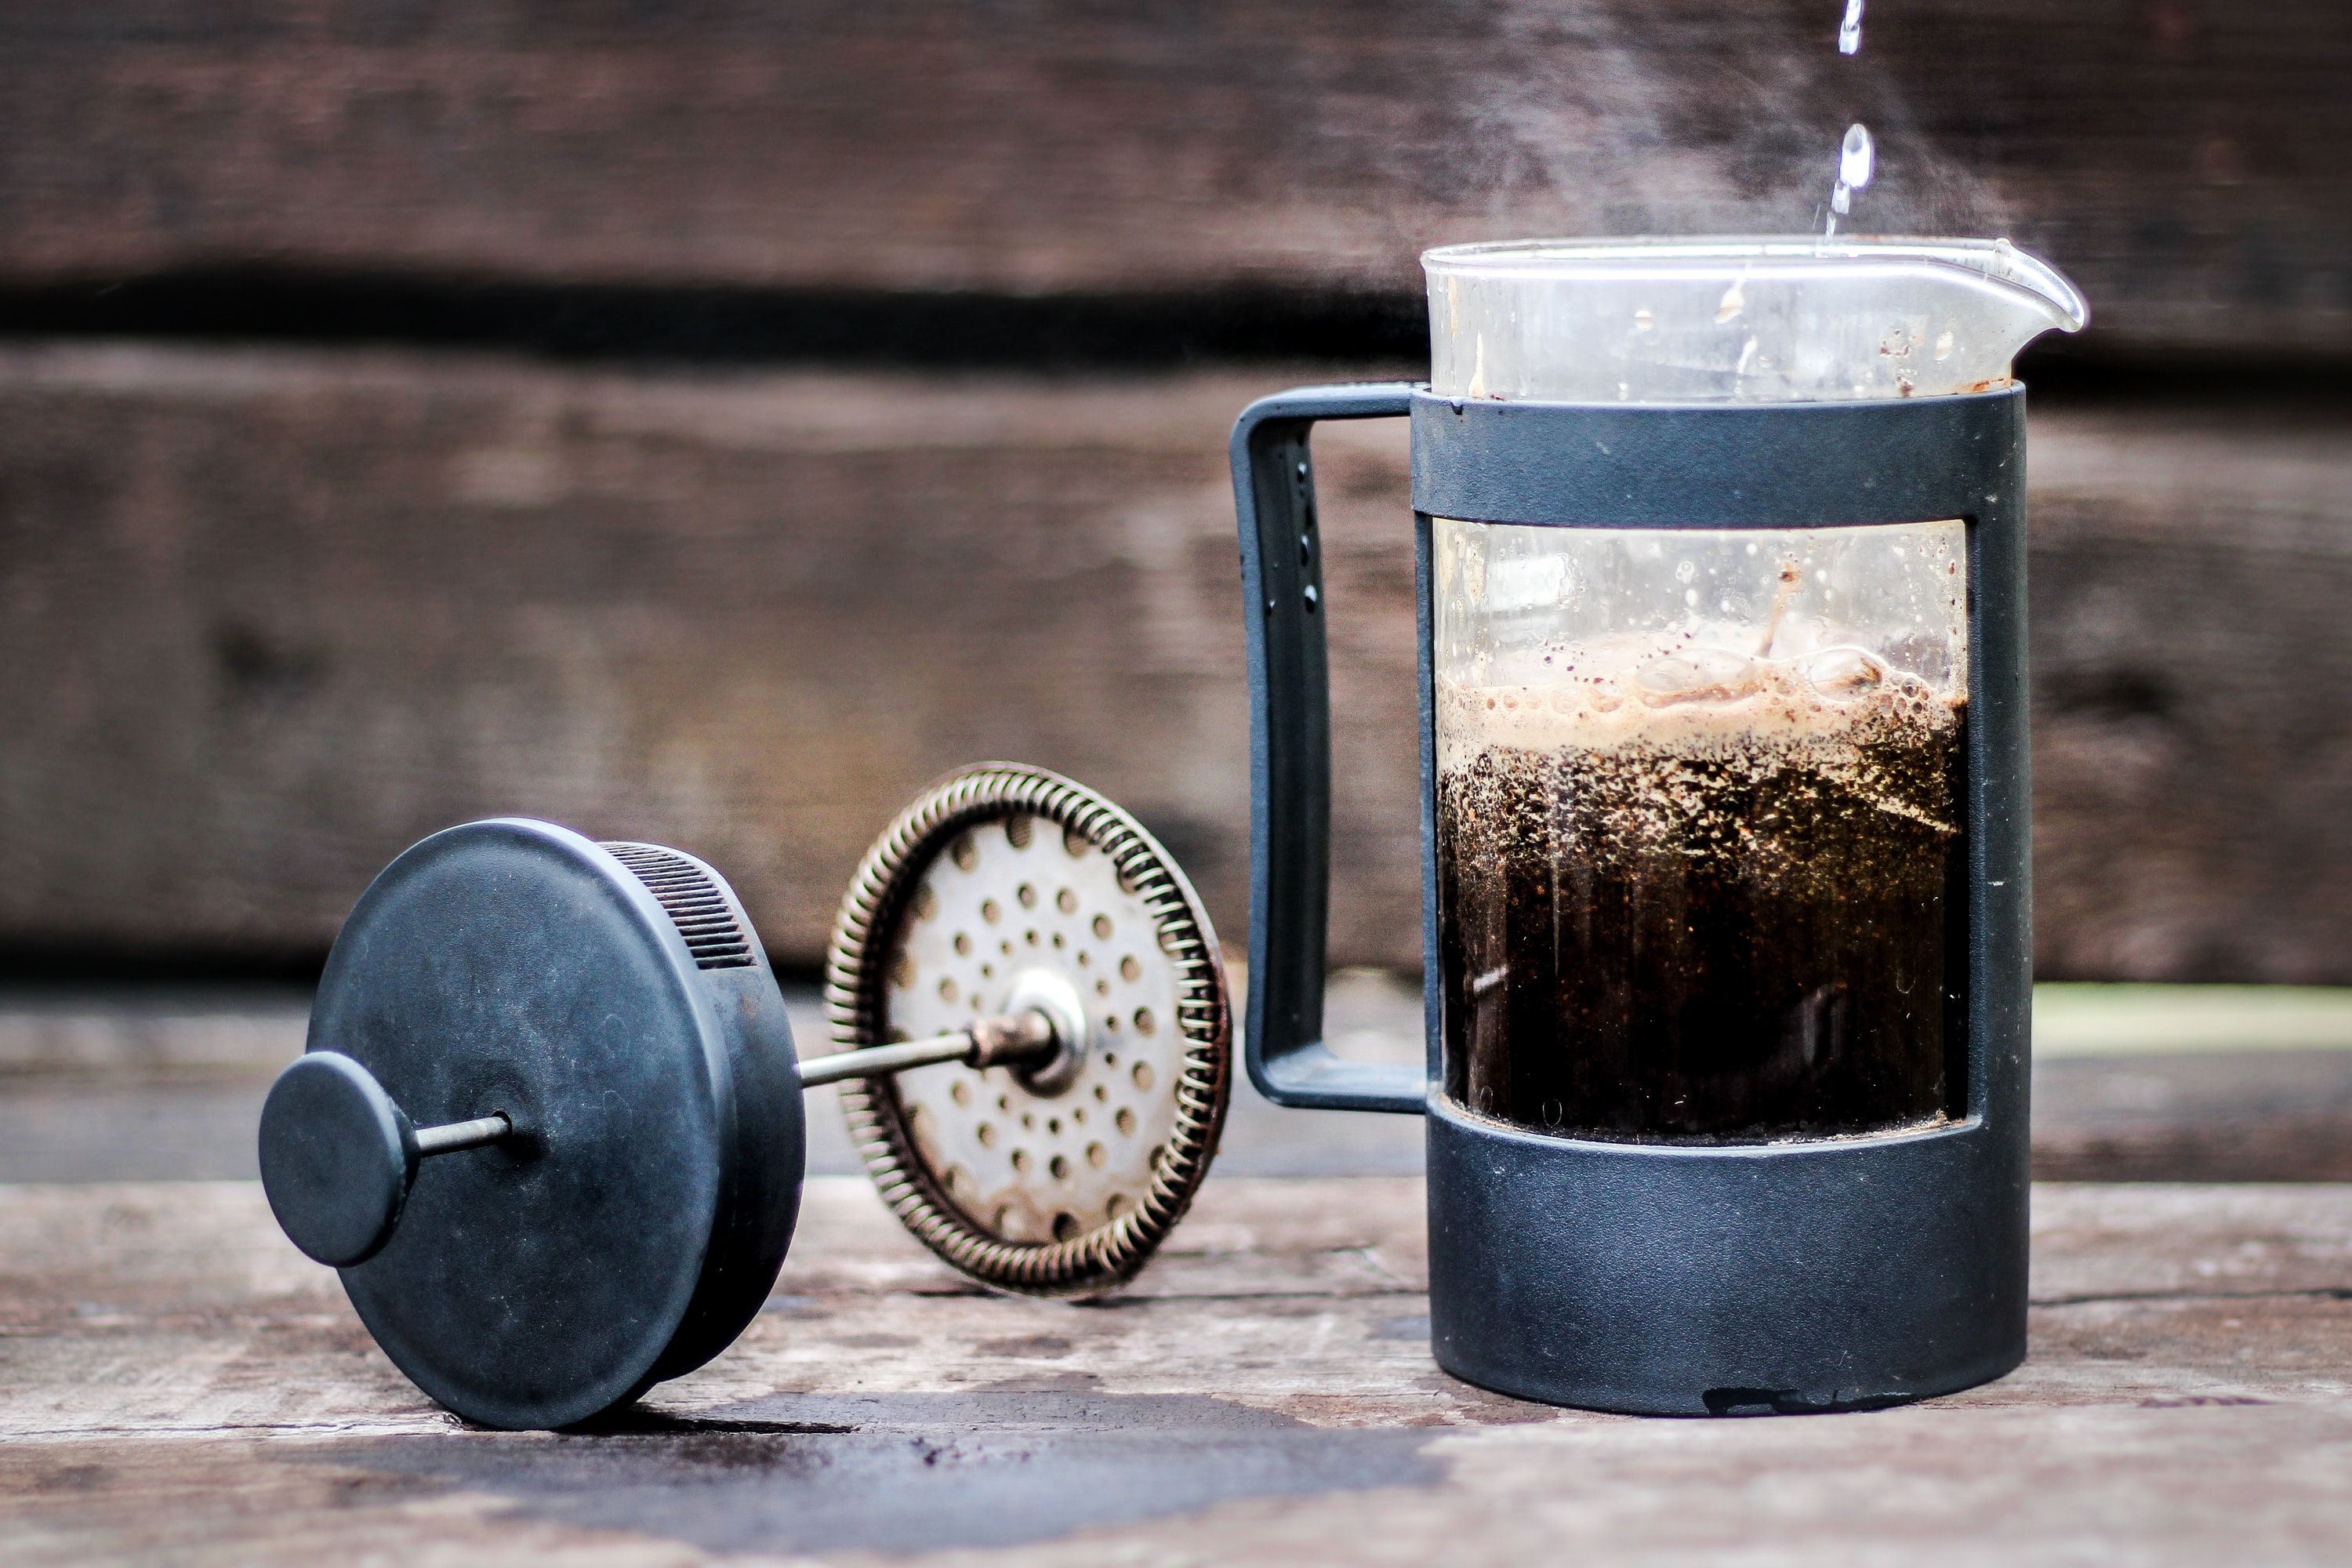
The AeroPress is one of the easiest ways to brew a strong, clean cup of coffee without expensive equipment. It is small, fast, forgiving, and useful at home, at work, or while traveling. The inverted method adds one extra move, but it gives you more control over brew time because the coffee stays immersed until you decide to press.
If you want a reliable starting recipe, use 18 grams of fresh coffee, about 220 grams of hot water, and a 2 minute brew time. From there, adjust grind size, water temperature, and dilution until the cup lands where you want it.

AeroPress Recipe
| Variable | Starting Point |
|---|---|
| Coffee | 18 grams |
| Water | 220 grams total |
| Grind | Medium-fine to medium |
| Water temperature | 176 F to 205 F |
| Bloom | 30 to 45 seconds |
| Total brew time | About 2 minutes |
| Press time | 25 to 30 seconds |
Use a lower water temperature if your coffee tastes harsh or bitter. Use hotter water if the cup tastes thin, sour, or under-extracted.
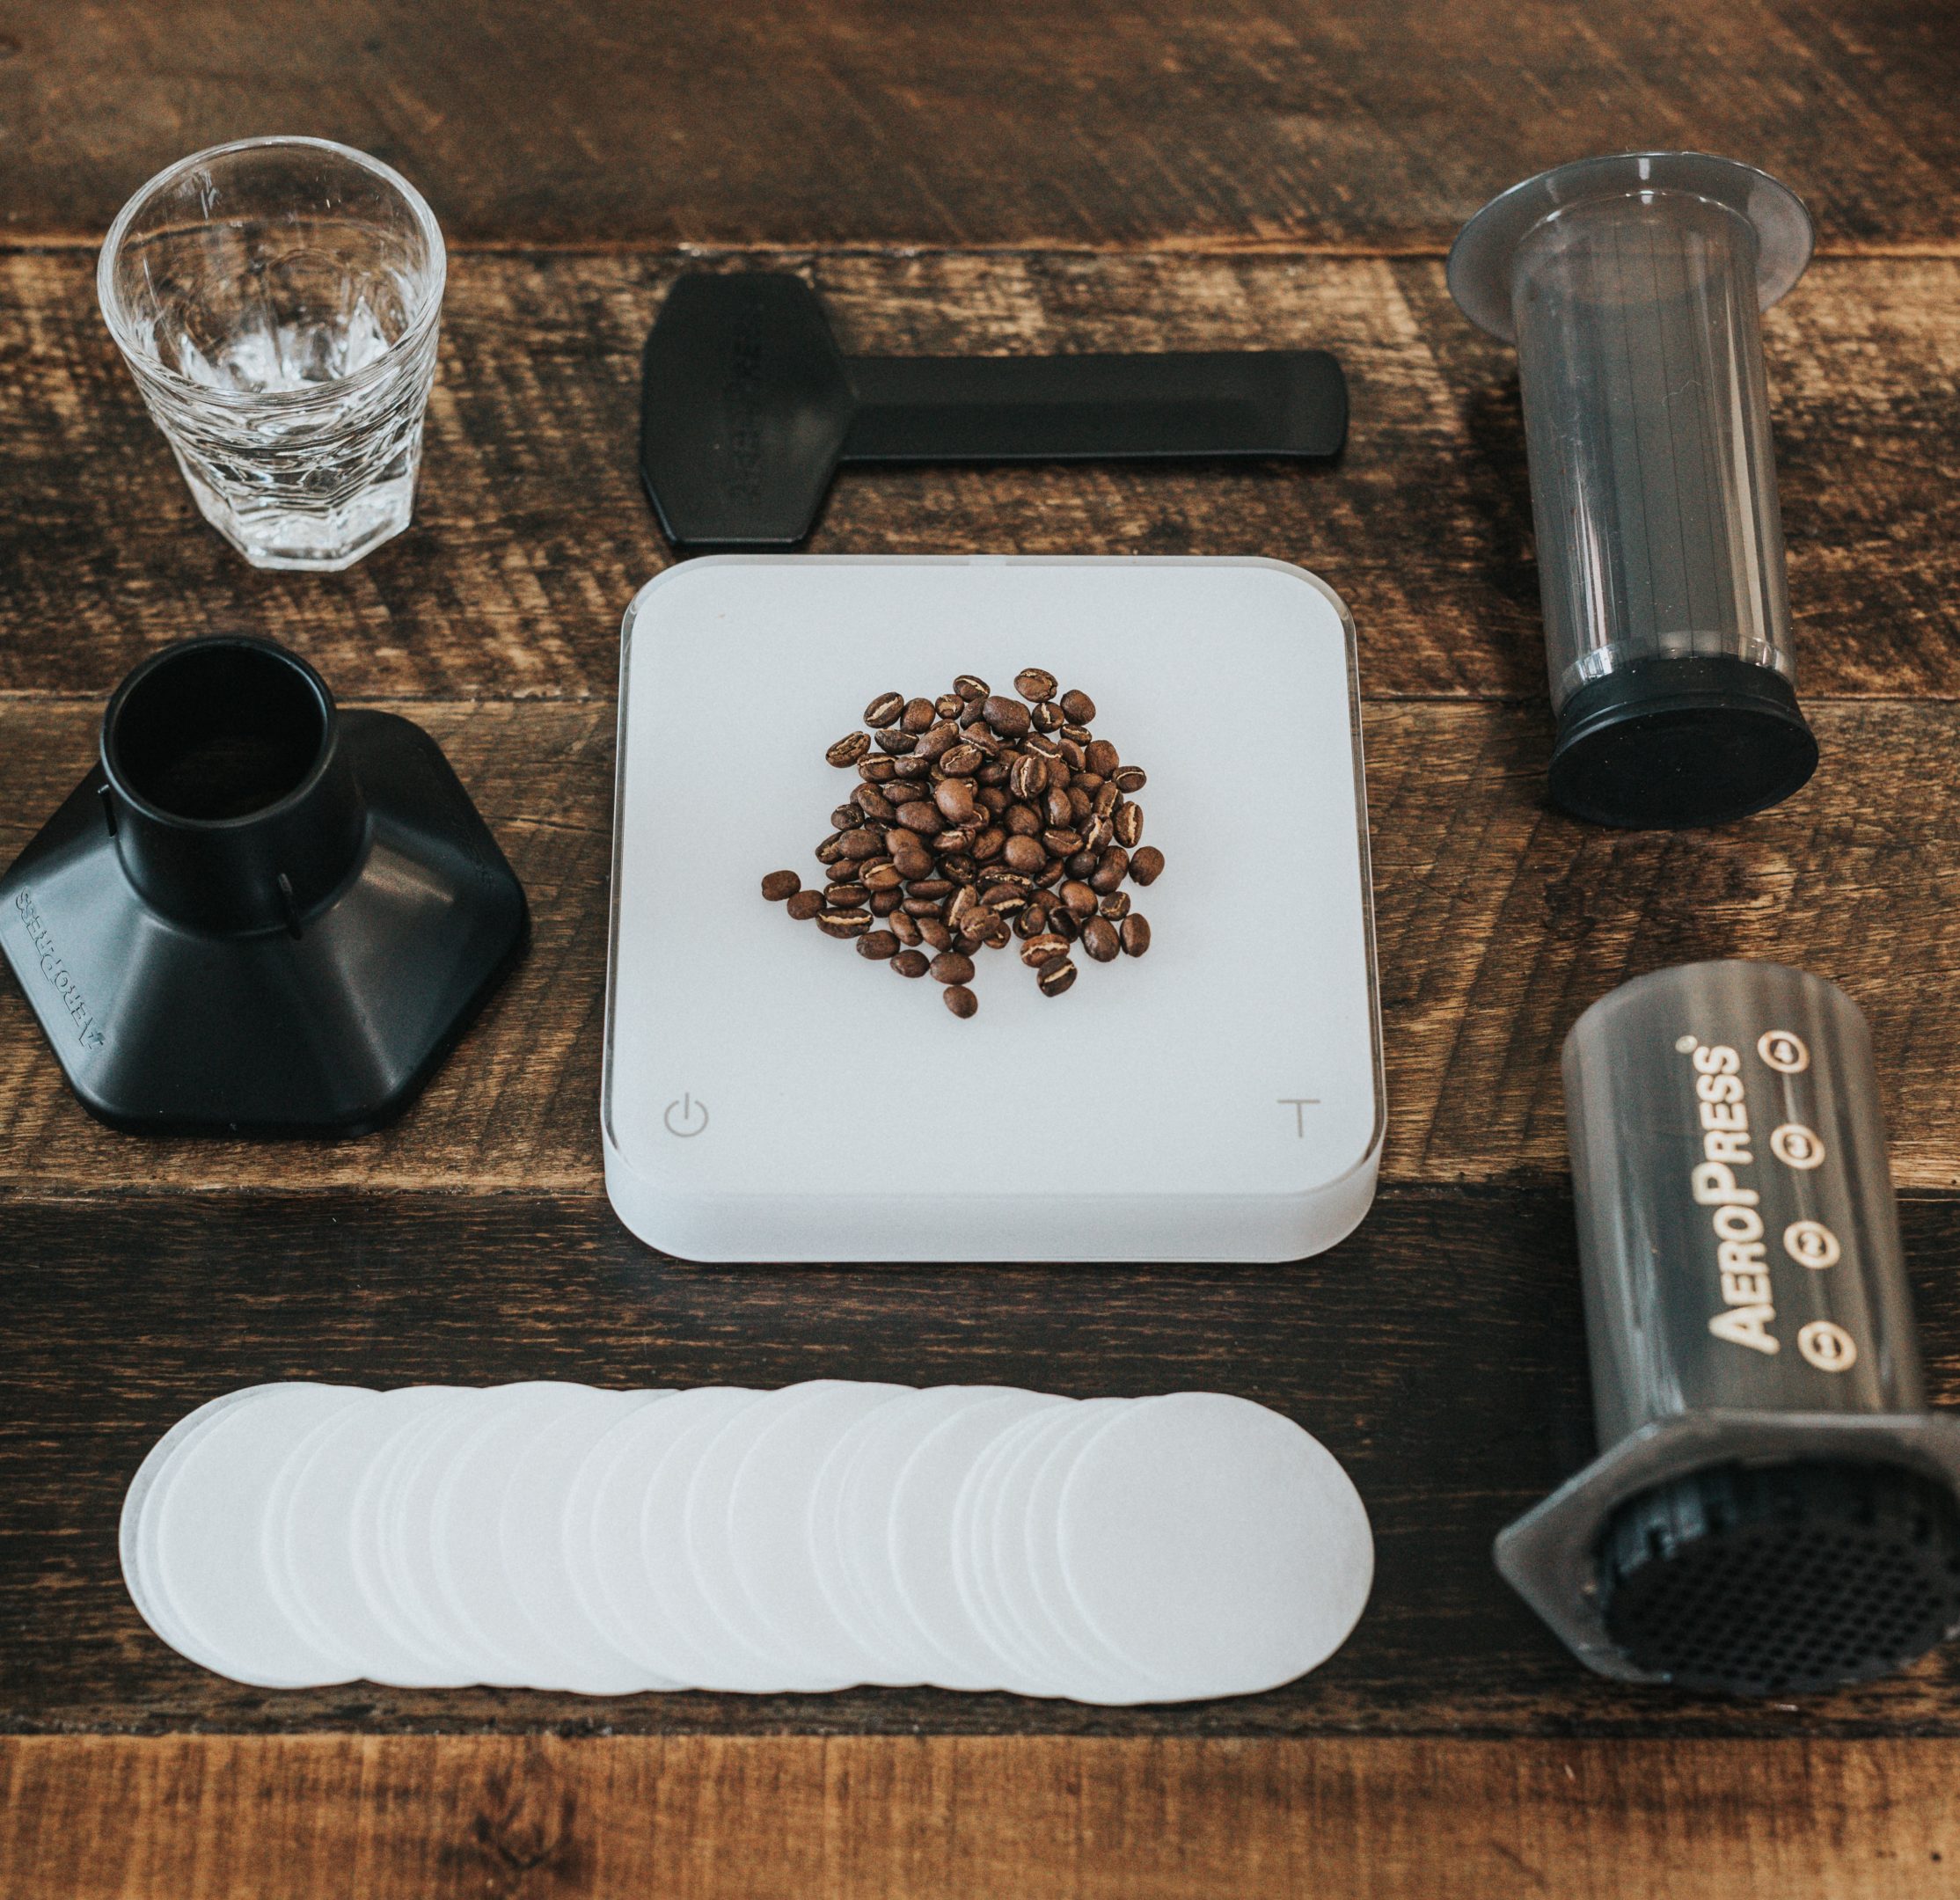
What You Need
- AeroPress
- Paper or metal filter
- Fresh roasted coffee
- Burr grinder
- Kettle
- Scale
- Timer
- Mug
- Stirrer
Whole bean coffee gives you the most control because you can grind right before brewing. For a darker, heavier cup, try a bold blend like Dark and Dangerous. For an everyday balanced cup, start with Big Joe Blend.
Why Use the Inverted AeroPress Method?
The standard AeroPress method lets coffee start dripping through the filter as soon as water hits the grounds. That is not wrong, but it gives you less control over immersion.
The inverted method turns the brewer upside down during steeping. The coffee and water stay together until you attach the filter cap, flip the brewer, and press. This makes it easier to repeat a recipe and troubleshoot the final cup.

Step 1: Rinse the Filter
Place a paper filter in the cap and rinse it with hot water. This helps remove paper flavor and warms the cap. If you use a metal filter, rinse it to preheat it and clear any dust.
Step 2: Grind and Measure Coffee
Measure 18 grams of coffee. Grind it medium-fine to medium. It should be finer than a typical French press grind but not as fine as espresso.
If pressing feels nearly impossible, the grind is probably too fine. If the coffee tastes thin or watery, grind a little finer next time.
Step 3: Set Up the AeroPress Inverted
Insert the plunger into the chamber just far enough to create a seal. Turn the AeroPress upside down so the open chamber faces up. Place it on a stable surface or scale, then add your ground coffee.
Step 4: Bloom the Coffee
Start your timer and pour in enough water to fully saturate the grounds. Stir gently so all coffee is wet. Let it bloom for 30 to 45 seconds.
Fresh coffee releases gas during the bloom. That release helps water reach the coffee more evenly and usually produces a cleaner cup.
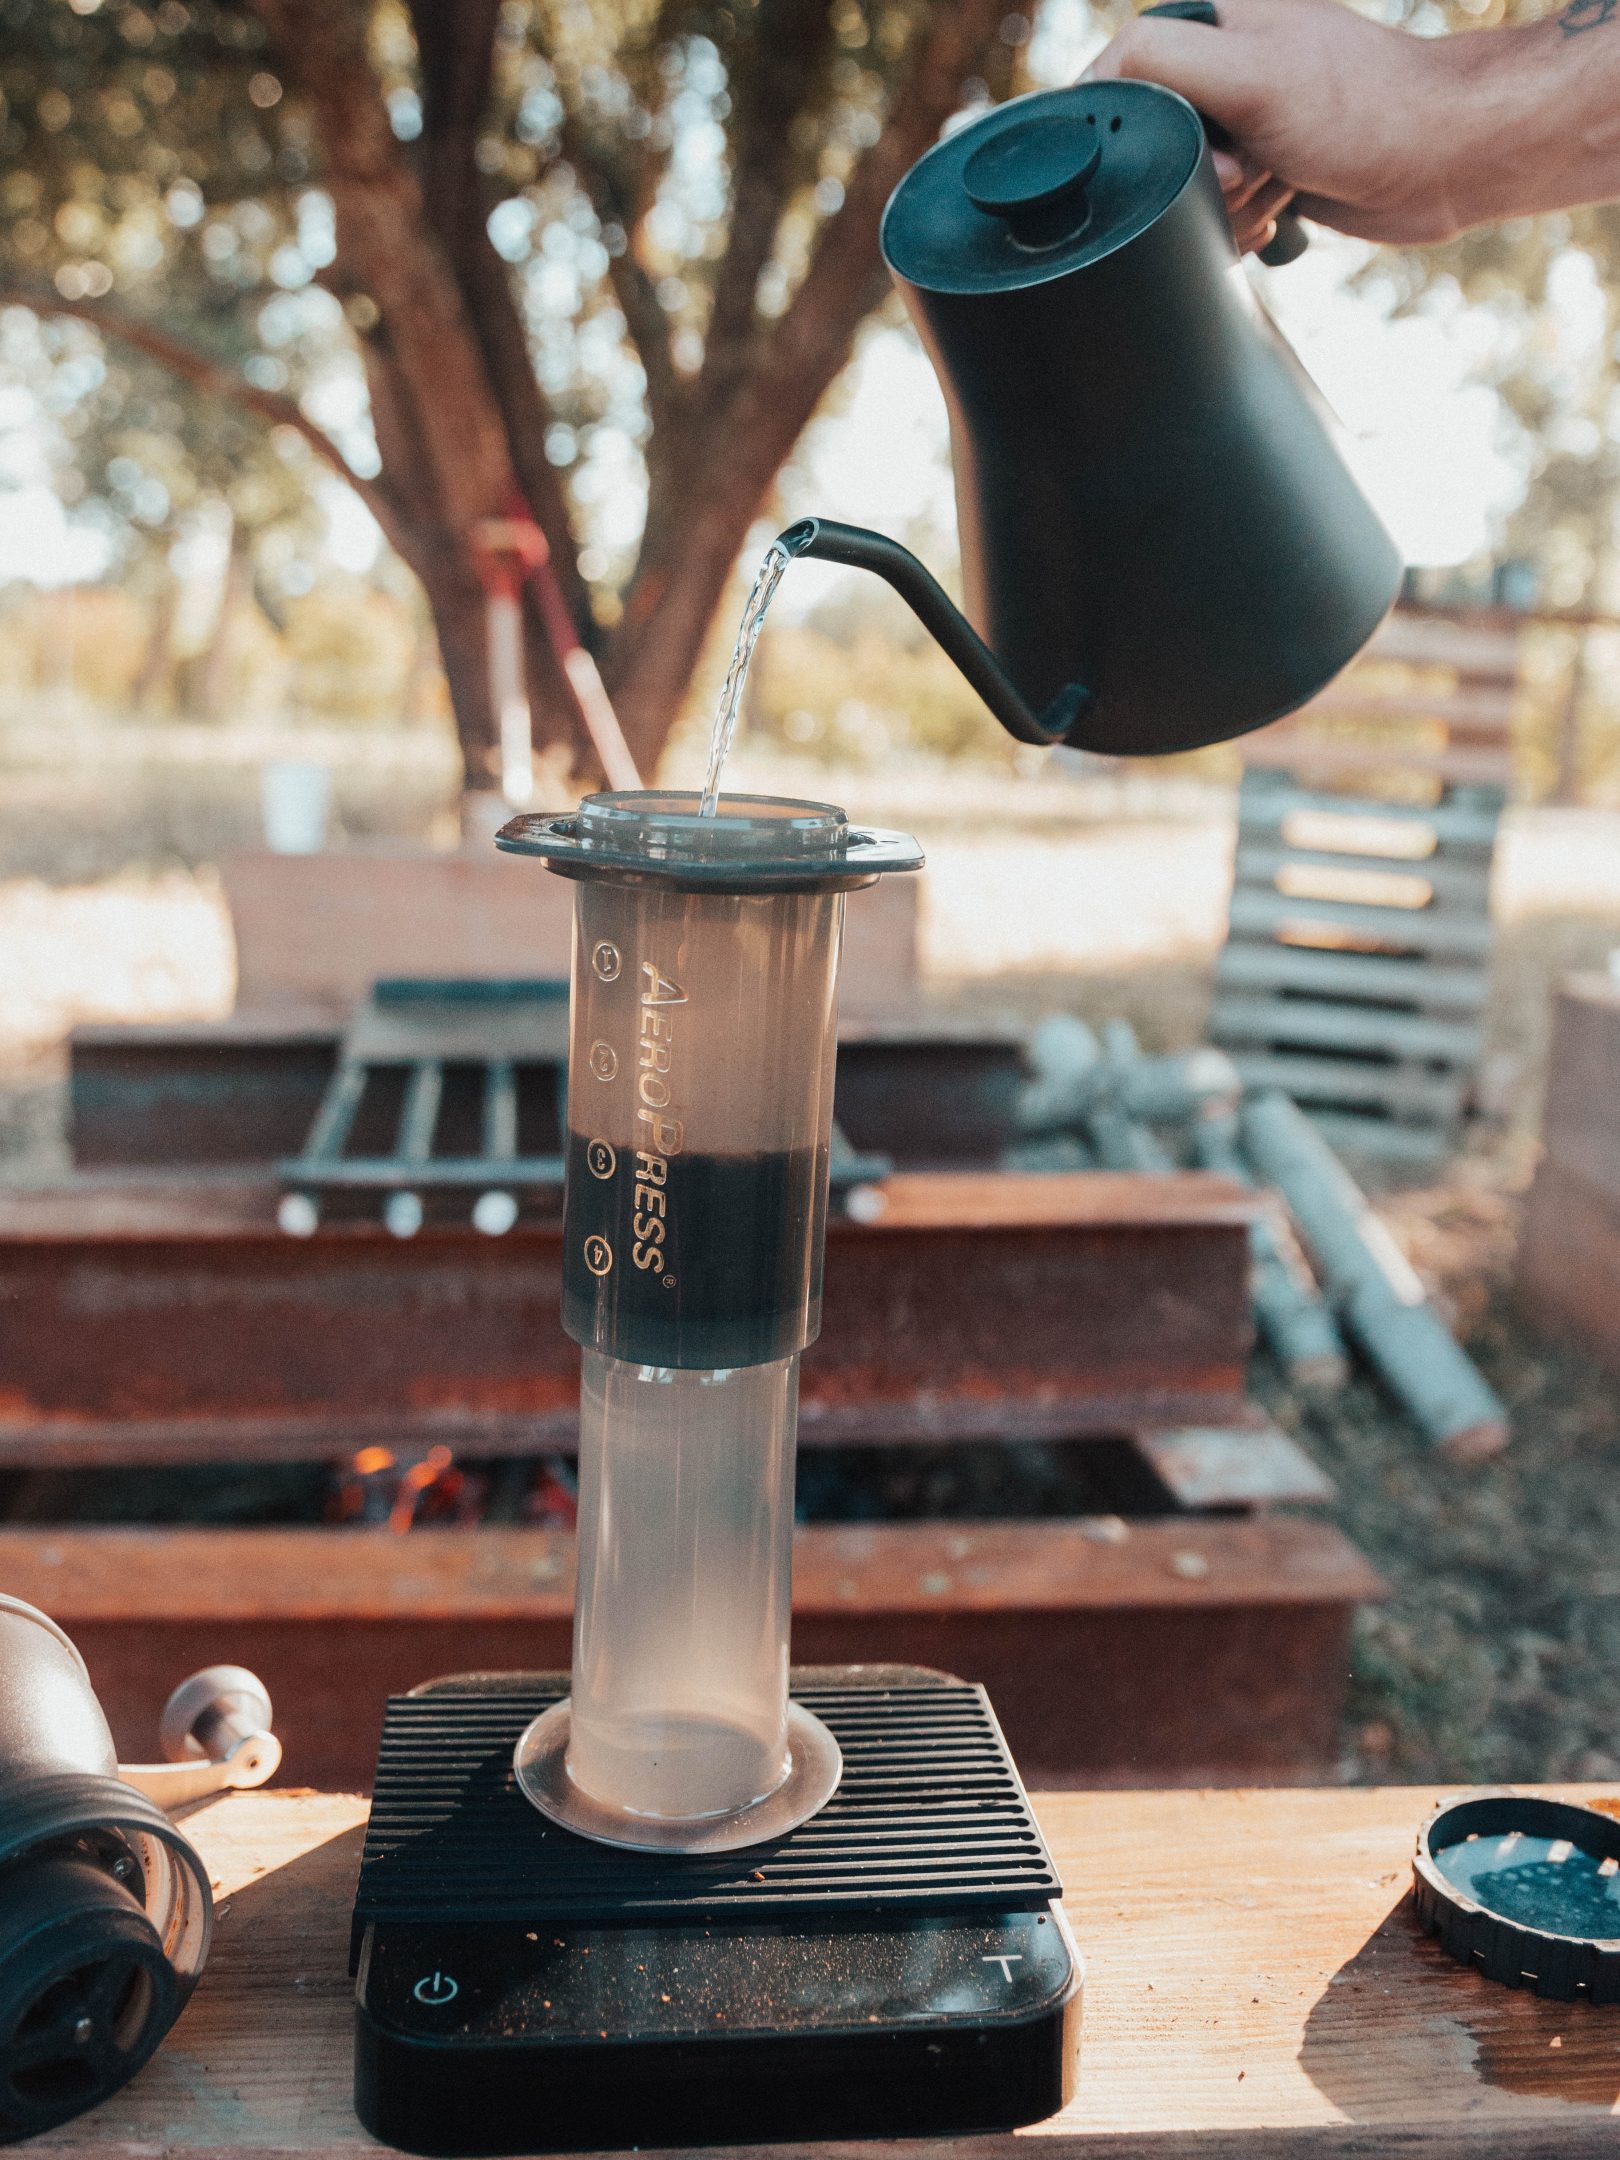
Step 5: Fill, Steep, and Cap
After the bloom, add the rest of your water. Fill to your target weight, usually around 220 grams total. Stir once or twice, then attach the filter cap.
Let the coffee steep until your timer reaches about 1:45 to 2:00.
Step 6: Flip and Press Slowly
Place your mug upside down over the AeroPress cap, hold both pieces securely, and flip them together. Press slowly for 25 to 30 seconds. Stop when you hear a hiss.
Do not force the press. A steady press produces a cleaner cup and helps avoid bitterness.
Step 7: Dilute to Taste
The inverted AeroPress can produce a concentrated cup. If it tastes too strong, add hot water after pressing. This is also the easiest way to make a larger cup while keeping the brew controlled.
Common AeroPress Mistakes
Pressing too fast
Fast pressing can push fine particles through the filter and create a muddy cup. Slow down and keep pressure steady.
Grinding too fine
A grind that is too fine can make the press difficult and the coffee bitter. Move coarser if the cup tastes harsh.
Using stale coffee
The AeroPress is forgiving, but stale coffee still tastes flat. Use fresh roasted coffee and grind right before brewing.
AeroPress FAQ
Is AeroPress coffee the same as espresso?
No. AeroPress can make a strong concentrate, but it does not brew with the same pressure as an espresso machine.
Should I use a paper or metal filter?
Paper filters produce a cleaner cup with less oil and sediment. Metal filters produce more body and a heavier mouthfeel.
What coffee works best in an AeroPress?
Medium, medium-dark, and dark blends all work well. If you want a strong morning cup, try Black Eye Breakfast Blend. If you want more body, use a darker roast.
Final Takeaway
The AeroPress rewards small adjustments. Start with the recipe above, change one variable at a time, and write down what improves the cup. Fresh coffee, a consistent grind, and a controlled press will do most of the work.